As dental professionals, we’ve all experienced the frustration of a crown that does not fit accurately. It can be disheartening to exhaust all available resources and still not achieve the desired outcome. To aid dentists, we produced a webinar, 10 Tips for Perfect Fitting Crowns, following are some quick takeaways.
1. Embrace digital workflow
Adopting a digital workflow in dentistry offers numerous advantages over traditional methods. Digital techniques, such as using intraoral scanners (IOS), significantly reduce human error, enhance control over record-taking, and improve efficiency. According to Dandy’s internal survey of 1200 dentists, approximately 75% of US dental practices utilize intraoral scanners, a sharp increase from 20-30% five years ago. The high-resolution data provided by digital scans offer superior information fidelity, capturing detailed color data and accurate pre- and post-operative conditions, which are critical for designing perfectly fitting crowns.
2. Foundational scan protocol
Establishing a foundational scan protocol is essential for achieving optimal results. Ensure the scanning area is clean and dry, as moisture can distort digital impressions. Lighting is another factor, so avoid direct overhead lights during scanning to prevent inaccuracies. Proper scanner handling, like a pen grip, provides better control and access to difficult areas. Follow a systematic scan path—occlusal, lingual, buccal—with full swipes. Start on the occlusal surface, swipe molar to molar before rolling lingual, and swipe again, molar to molar, for consistent results. Avoid over-scanning by optimizing the image count, ideally under 3,000 images per arch. These practices help create precise digital records.
3. Shade capture with photography
Capturing the correct shade before patient prepping is crucial for aesthetic results. Use a high-resolution camera and a shade guide in ambient light. Dentition changes color. They dehydrate, and the teeth fundamentally change in shade after pre-prep versus post-prep. Best practices include taking six essential photos:
- A natural full-face smile.
- A second natural smile photo, with a close-up of the dentition.
- Use two close-up photos of shade times. The shade times should be the targeted shade or one the lab needs to mimic for a custom shade pull. Give a visual range, which helps the lab examine the patient’s dentition and uses the shade times as color image references. Also, pay attention to the shade number and avoid asking for a different shade, e.g., ordering an A-3 shade for a tooth with an A-1 shade.
- Two final photos: one with retracted teeth together and then retracted teeth separated.
This comprehensive approach ensures consistency, leading to more natural-looking restorations. Even for posterior restorations, a simple shade photo helps achieve better results. Providing these photos will supply the lab with six images that will get the desired shade—crowns that blend seamlessly with the patient’s natural teeth.

4. Double cord retraction technique
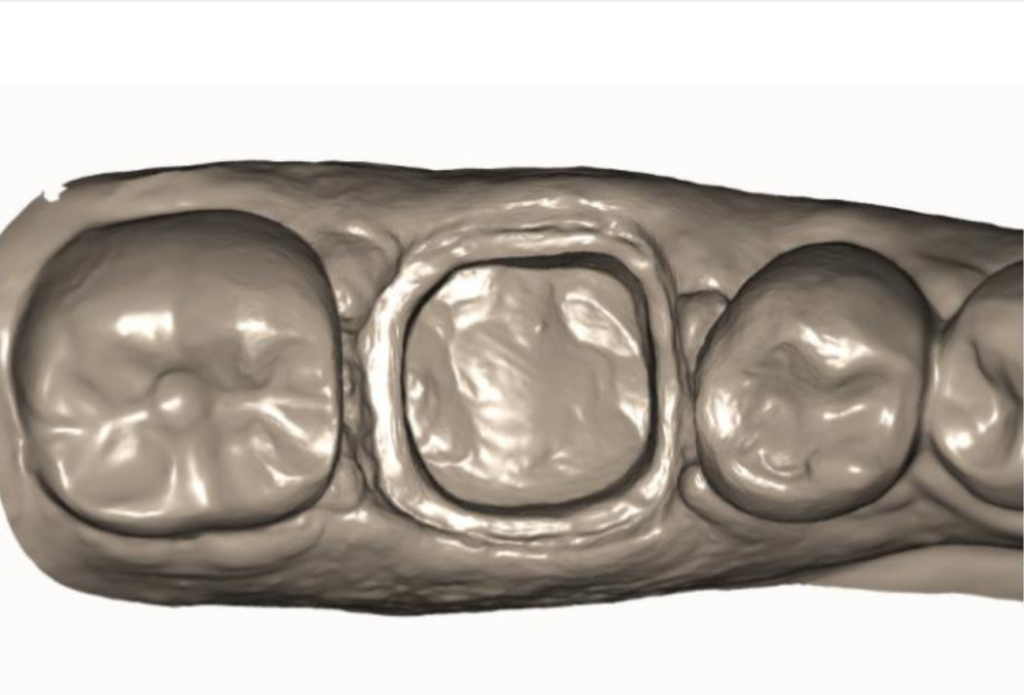
The double cord retraction technique is invaluable for achieving clear margins necessary for perfect fitting crowns. This gold standard method involves placing two cords in the gingival sulcus, providing excellent retraction and a clear field for scanning. Double-cord retraction offers more consistent results than the single-cord technique, especially in challenging cases. Visual examples clearly show how this technique enhances the visibility of the margins, ensuring accurate digital impressions. By mastering double cord retraction, dentists can significantly reduce the risk of open margins and improve the overall quality and longevity of the restorations.
5. Mastering the prep scan
Accurate reading of digital impressions is key for successful restorations. It relates to how digital impressions are read, or more specifically, how the sensitive areas of skin are reviewed.This method can be challenging, especially transitioning from analog to digital workflows. To begin, ensure margins are clear and interproximal contacts are well-defined. Turning off the color in scans can enhance visibility, making it easier to identify these critical areas. Utilize pre-operative scans to focus solely on capturing prep details without the distraction of other dentition. This method minimizes errors and ensures the lab has the best possible data. With tips and tricks for reading digital impressions and plenty of practice, anyone can master these techniques, improving the impressions’ accuracy.
6. Advanced scan analysis
Effectual scan analysis aids in avoiding distortions in digital impressions. As stated previously, manage image count to stay below 3,000 images per arch to prevent overloading the scanner and introducing errors. Utilize the stone model mode for clearer visibility and easier identification of essential details. For challenging cases, mark margins digitally to ensure accuracy. These practices streamline the scanning process, reduce the risk of inaccuracies, and ensure that the final restorations fit perfectly. Advanced scan analysis techniques empower dentists to produce consistently high-quality digital impressions, leading to superior patient outcomes.

7. Leveraging Live Scan Reviews
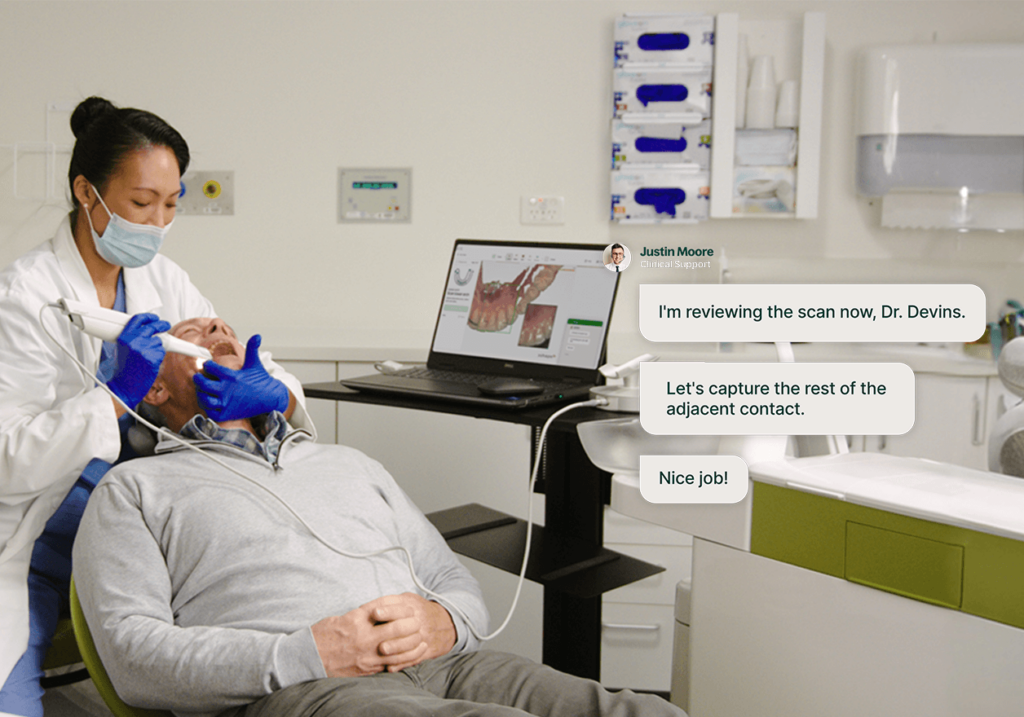
Live scan reviews offer real-time feedback from technicians, ensuring high-quality digital impressions before the patient leaves the chair. This service allows for immediate corrections and enhances accuracy, reducing the need for patient remakes. Schedule live scan reviews in advance for complex cases for expert oversight. By integrating live scan reviews into the digital workflow, you can confidently know that patients’ impressions are accurate and complete.
8. Utilizing Design Previews
Design previews are essential for ensuring precise and satisfactory restorations. Reviewing and approving designs before fabrication allows for necessary adjustments, ensuring the final product meets clinical and aesthetic expectations. Effective communication and annotations between the dentist and the lab are essential for this process. Utilize the design preview tools to see the proposed restoration in 3D, making visualizing the fit and function easier. This step minimizes the risk of errors, reduces the need for remakes, and ensures that the crowns look natural.
9. Using CAD/CAM materials
CAD/CAM materials offer significant benefits for consistent and precise dental restorations. These materials are designed digitally and manufactured with high precision, guaranteeing that the final product matches the digital design accurately. Follow preparation guidelines tailored to each material, such as clear margins and adequate occlusal clearance. A shoulder prep or a medium to heavy chamfer is recommended for zirconia crowns, along with at least 1 to 1.5 mm of occlusal clearance. Using these advanced materials and adhering to the preparation guidelines result in durable crowns that meet the highest standards of quality and aesthetics.
10. 3D printed duplication workflows
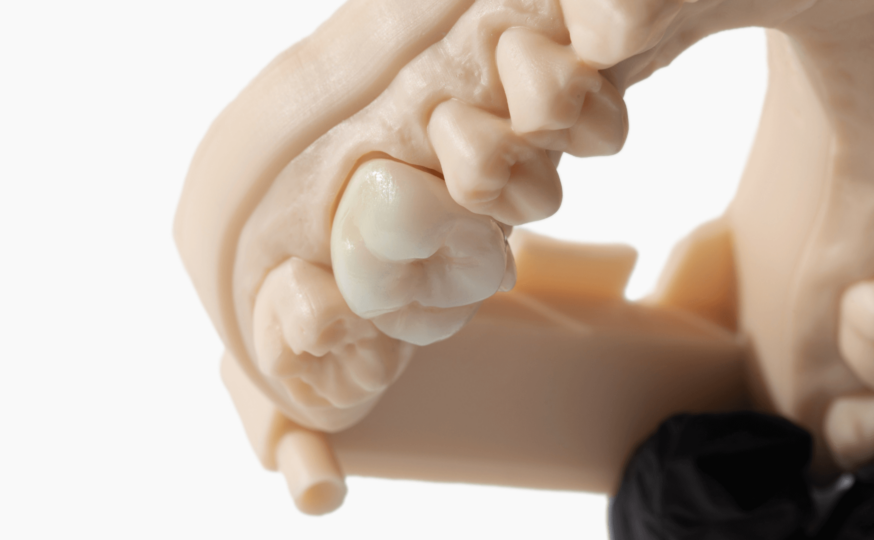
The future of digital dentistry is 3D printing, which revolutionizes the workflow for creating crowns and other restorations. Before fabrication, begin with digital design previews to finalize the restoration’s shape and fit. This approach allows for easy adjustments and patient feedback. Once approved, 3D printing creates temporary restorations for a test drive, minimizing the need for adjustments later. This workflow enhances crown production predictability and with precision. 3D-printed duplication workflows also streamline the process and reduce chair time.
Perfect crown best practices conclusion
Adopting digital workflows in dentistry is paramount for achieving consistent, high-quality results. By following these ten tips, dentists can provide perfectly fitting crowns. These practices improve efficiency, enhance the patient experience, and increase overall outcomes. Embrace these modern techniques to elevate your practice and provide the best care for patients. Are you interested in exploring more of our services, tools, and resources for enhanced dental practice efficiency? Contact Dandy today.


