Your patients may be delighted to hear that the old ways of taking impressions are no longer the only ways. In fact, dental mold impressions are going the way of the dinosaur.
Say goodbye to the goop, uncomfortable mouth guards, and lengthy back and forth between the dental office and the lab. They’re being replaced by an easier, more efficient, and less invasive method—digital dental models.
If you have heard about this advancement in dentistry, you’re probably curious about how it works exactly. Today, we’ll review Dandy’s step-by-step process for taking digital dental models with an intraoral scanner.
Traditional Mold Models vs. Digital Dental Models
In the past, mold impressions were part and parcel of daily dental workflows. They were used to create a physical replica of the patient’s oral cavity—specifically, the teeth’s shape, spacing, and arrangement. That mold then served as the model for restorations, orthodontic appliances, or prosthodontics treatments.
Although mold impressions remain ubiquitous across many dental practices, there are some significant flaws to this methodology, including:
- Many impressions are unusable or contain errors
- The process is laborious and time-consuming
- Taking impressions is often uncomfortable for patients
- The physical molds had to be shipped to and from the various labs
Digital dental models were designed to ameliorate many of these common pain points.
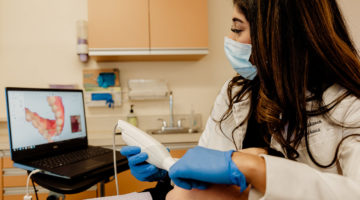
With the help of a high-tech intraoral scanner, dental professionals can rapidly take a digital impression of the patient’s mouth. These devices can perform this task faster and more accurately. In less than a minute, dentists can make a perfect digital 3D impression. Once finished, it will upload to a computer or the cloud, making it easily shareable with other clinicians or labs.
When it comes to how to attract new patients to your dental practice, put simply, it’s an easy way dentists can improve the patient experience and foster better care outcomes while reducing patient chair time.
The Digital Dental Model Workflow
So, how does the digital dental process work? Dandy’s dental 3D printing workflow follows an easy, four-step process:
Step 1: The Intraoral Scan
Dentists can use intraoral scanners for practically any dental health procedure that would otherwise require a physical impression, including preoperative, implant, and denture workflows.
These digital devices instantly capture dental impressions, automatically registering the size and shape of each tooth. The data is then combined to form an accurate, detailed, digital composite of the patient’s mouth. That image is then visible on a computer screen.
Thanks to intelligent processing, Dandy’s scanner outputs 3D mesh files (.STL), which are then uploaded with software connected to the intraoral scanner. That 3D rendering can later be used to design dental models.
Step 2: Design
With physical molds, it may have taken a week for the impression to reach the dental laboratory. But now, just a few minutes after the scan procedure finishes, the dentist can send the digital impression to the lab.
The import file will be digitally sent to a computer-aided design (CAD) and computer-aided manufacturing (CAM) software for the design process. This new dental technology can be used to design and manufacture an array of dental products, including:
With the digital impressions on hand, the dental laboratory’s technicians communicate with the dentist and practice to refine the digital model, making tweaks and micro-adjustments as needed to ensure proper spacing and alignment. Once the design team and dentist are satisfied with their alterations, they’ll send the final restoration to the 3D printer.
Step 3: Printing and Milling
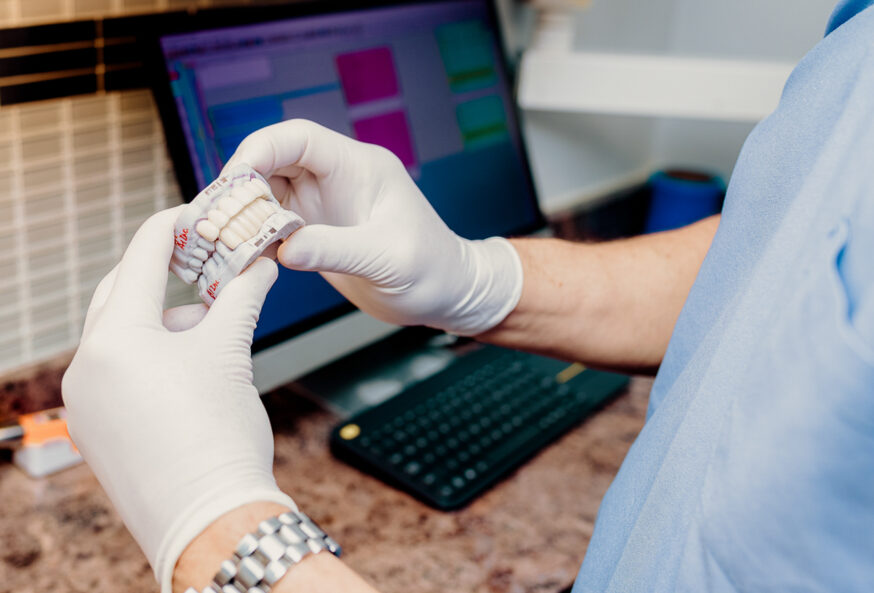
After the CAD/CAM dentistry work is done, the fun part begins—the physical dental model emerges.
Depending on the dental product, the model will typically undergo one of two processes:
- Milling – A milling machine shapes the restoration from a single ceramic block. This is what’s known as subtractive manufacturing.
- 3D printing – A 3D printer works the opposite of a milling machine by taking raw materials and fashioning the final product from the ground up. This is what’s known as additive manufacturing.
While both methodologies are more than capable of creating high-quality dental models, a recent study from Japan’s Tohoku University Graduate School of Dentistry discovered that dental restorations that were printed, not milled, featured “higher accuracy” and “fewer marginal discrepancies.” For these reasons, they concluded that 3D printed restorations offered more future advantages for dental restoration as a whole.
Step 4: Preparing
Once the base model is completed, it’s ready for finishing.
Depending on the product and the patient, the model will then be stained or glazed for a natural aesthetic. From there, it will receive a polish for a final finish.
In less than 24 hours, you can go from scanning a patient’s mouth to having the final restoration en route to your office.
Dandy’s Digital Dental Models
Digital dental models are enhancing the ways dental practices operate. These advancements in dentistry take an old method—a workflow that’s less-than-optimal for patients and dentists alike—and replace it with a better, more efficient process.
At Dandy, we’re at the front lines of the dental industry’s new wave of digital dentistry. Our goal is to modernize the dental lab process with techniques and technologies that improve patient experiences and outcomes. Simultaneously, we aim to help you create operational efficiencies and lower clinical costs.
Are you ready to retire physical dental impressions? Dandy can help you do digital today at no cost.
Sources:
NCBI. 3D Digital Impression Systems Compared with Traditional Techniques in Dentistry: A Recent Data Systematic Review. https://www.ncbi.nlm.nih.gov/pmc/articles/PMC7215909/3D Printing Industry. New Study Finds 3D Printing to Be More Accurate than Milling in the Creation of Dental Crowns.


