Capturing high-quality images of a patient’s mouth requires the right equipment, training, and techniques. The better the image quality, the increased ability to plan and convey the next steps of treatment to patients. For the patient, seeing is believing, which is one step closer to case acceptance especially for treatments such as Clear Aligners.
There is a difference between the two types of photographs and the equipment needed. Intraoral images are taken inside the mouth. Extraoral photos are taken outside the mouth. The well-trained and practiced dental practitioner will become accomplished using either a camera or an intraoral scanner. Still, there is an obvious need to invest in the right equipment. Here is Dandy’s suggested equipment list and advice on its effectiveness and use.
Essential equipment for dental photography
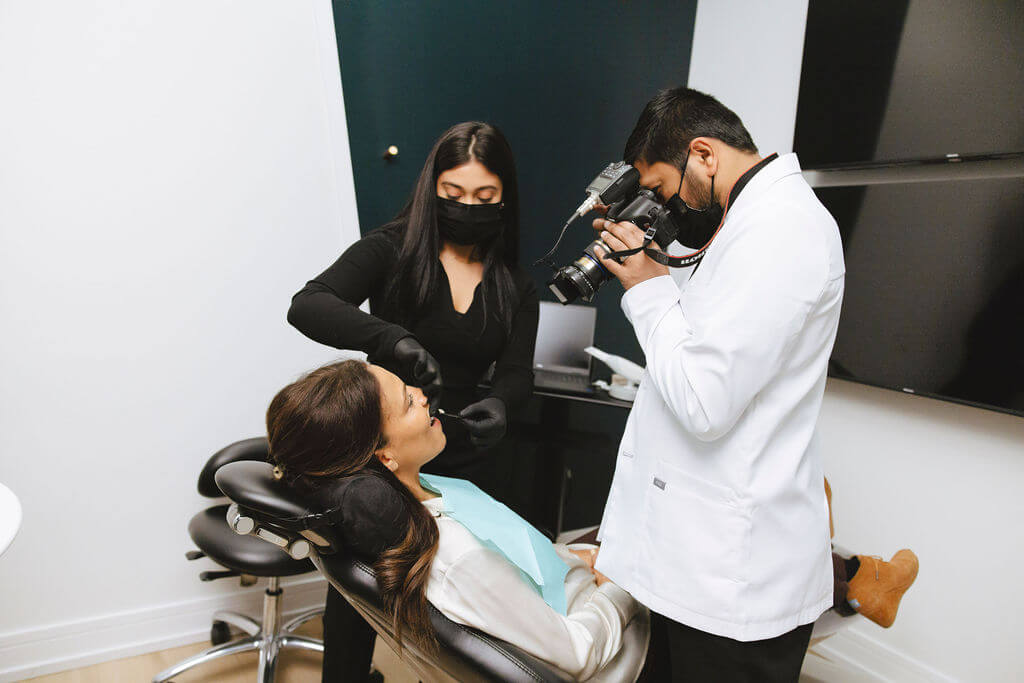
Camera, lens, and flash selection
In dental photography, the type of camera impacts the accuracy and detail of the images taken. We suggest the following:
- Camera: A DSLR (Digital Single-Lens Reflex) camera system with a camera body, lens, and external flash. It has superior image quality, faster operation, and increased depth of field. slack
- Lens: A 50 mm macro lens with a magnification ratio of 1:1. Focal lengths of 60, 85, and 100 mm, where 100mm is the most advised.
- Flash: A mounted external ring flash in front of the lens of the DSLR camera.
- Other: Smartphones with enhanced cameras, such as an Apple iPhone 12 or newer, are a good substitute.
Cheek retractors and intraoral mirrors
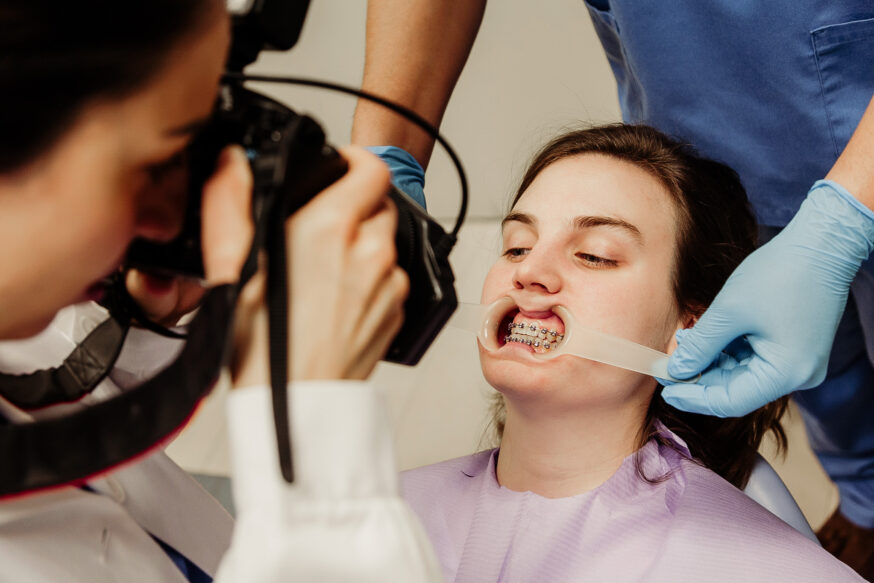
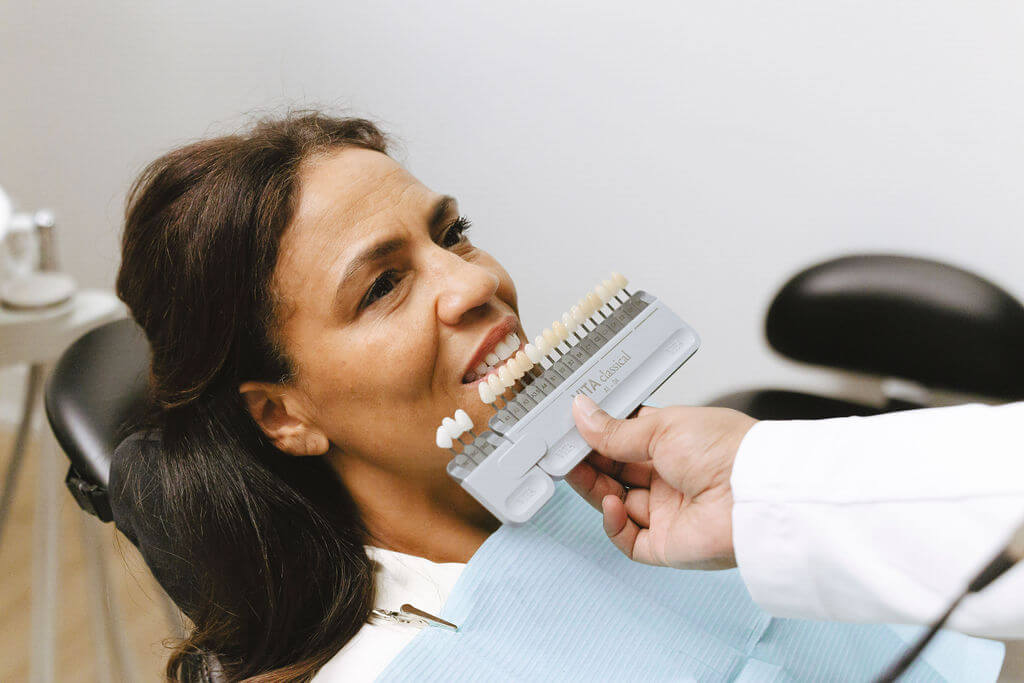
To capture unobstructed views of the oral cavity, retraction is the name of the game. Cheek retractors pull back the lips and other soft tissue structures, allowing maximum light to enter the oral cavity and increasing visibility. Here are our recommendations:
- Double-ended cheek retractors: Occlusal and buccal-view images use this type of retractor, which offers versatility and accommodates different mouth sizes.
- Plastic retractors: These are made of clear plastic and are less visible in the picture.
- Patient involvement: Having the patient assist aids in the process. If not the patient, then another team member.
Dental mirrors produce a reflected image when photographing areas of restricted accessibility.
- Mirrors: Intraoral mirrors should be made of glass, not metal. Glass mirrors have better light-reflective properties and are scratch resistant. However, they are more fragile than steel mirrors.
- Mirror prep: We advise a warm water bath or warm the mirror before use by placing it next to or under your sterilization machine, keeping mirror fogging to a minimum. There are non-fogging material mirror options, but glass is our choice.
Office setting for the camera photo
Make sure you have a setting devoid of posters, cabinets, or even plants to take the extraoral photos. This isn’t for Instagram, think more DMV without the long wait.
Solid background wall: Make sure you have a clean background wall where you can take photos. The color doesn’t really matter but many practices use a bright white (and while we all know the “tissue test” is unfair to patients to compare their smile to say Behr’s “Melting Icicles”-white, a shade in any of the whites help create a nice blank background).
Stool or chair: Make sure there is a spot for the patient to sit when taking the camera photos. Whether you are offering your stool or have a chair especially for the extraoral photography position it in a place that is private (not in the waiting room!) and comfortable. The sitting furniture allows the patient to be comfortable and allows your staffer—at any height—to take photos at an ideal angle.
Having one dedicated spot, perhaps in hygiene, allows you to make sure the space is devoid of clutter.
When should you take dental pictures?
Digital dental photography has its place in every dental office’s workflow. Most often, dentists specializing in orthodonture and clear aligners find this system advantageous. Dental photographs help patients envision their new smile compared to the existing one.
Another use for dental photography is in wellness scans and can be leveraged for education and case acceptance. These photos also help process claims, proving to insurance providers by “seeing” the needed repair.
Techniques for capturing intraoral images
Intraoral scanners and dental photography systems go hand in hand. The critical step is securely storing patient dental pictures. All digital images should be stored and labeled with the patient’s name and date, especially the original photos.
Privacy laws and the Health Insurance Portability and Accountability Act (HIPAA) standards require that all patient information, including photos and scans, be stored safely. Use HIPAA-compliant patient and imaging software for both digital intake and file maintenance.
Patient positioning
Optimal patient posture is important in capturing precise intraoral images and provides patient comfort.
- Patients should be seated upright in a dental chair or stool with the head in a neutral position.
- Some dentists suggest a swivel chair or stool to acquire a place away from a reflective wall or shadows.
- For shading purposes, turn off the chair light and use natural, ambient lighting.
When capturing anterior, buccal, and occlusal images, keeping the patient’s head level with the Frankfort horizontal plane is essential.
- Patient’s head must be perpendicular to the floor.
- The occlusal plane leveled.
- The position of the teeth is parallel to the tabletop.
We also suggest that the patient holds the retractors for improved comfort during the photography test session.
When using an intraoral scanner, the head of the device should be aligned with the bisecting angle line, and the beam should be centered over each section or tooth you are capturing.
Lighting techniques
Effective lighting techniques help illuminate the oral cavity for detailed intraoral images. A ring light or dual flash provides uniform illumination and eliminates shadows. Avoid overhead fluorescent lighting and direct sunlight.
Reflective surfaces, such as teeth and metal fillings, crowns, and bridges, can cause glare and affect the quality of dental images.
To minimize reflective surfaces, use a diffuser in environments with high concentrations. Adjusting the ISO or camera sensor sensitivity based on the lighting conditions in the office is also recommended. Also, consider using whitening strips to help improve the appearance of teeth in images.
Camera settings
Adjusting camera settings is crucial. For optimal results, the following settings should be used:
- Aperture or f/stop: Set in manual mode (from f/8 to f/11).
- Shutter speed: Set in manual mode.
- ISO: Set to 100 to maximize image quality and clarity.
- Magnification: Set in manual mode.
- White balance: Set to “flash.”
Blurred images occur when the subject is in motion. Increasing the shutter speed or stabilizing the camera and patient can reduce motion blur.

Extraoral photography tips
While intraoral photography focuses on capturing detailed images of teeth and the oral cavity, extraoral photography involves capturing images of the face and smile.
Patient preparation
Patient preparation is a must to capture accurate and aesthetically pleasing extraoral dental photographs.
- The patient should be positioned to maintain comfort and relaxation.
- Create a clean and dry state in the patient’s mouth.
- Capture the photographs in portrait mode, with a clean, solid, and neutral background, preferably black.
Camera angles, framing, and more
Choosing the right camera angles and framing is essential. Here are some guidelines to follow:
- Place the camera at a 90-degree angle from the teeth, with the lens and teeth perpendicular.
- The photo should be taken directly in front of the patient, avoiding any downward or upward angle of view.
- For the right and left bite, the image can be captured without using an intraoral mirror so long as the first molar is revealed. Then, a mirror is needed. Also, retractors must provide a view of the buccal surface of teeth.
- For occlusal views, make sure the patient is in proper occlusion. The image should be centered vertically and horizontally, capturing gingiva on both arches. Buccal corridors should be adequately illuminated. Ensure the photo captures an equal display of posterior dentition.
- Photograph straight on from the buccal aspect angle to capture the mouth from the first molar to the canine portion of the mouth.
- The recommended aperture settings for extraoral photography are from f/8 to f/11.
- Soft and even lighting adjusted to the patient’s skin tone is needed.
- Camera-mounted flashes provide optimal lighting.
- Lastly, the teeth should be clean and dry. Make sure no saliva is present.
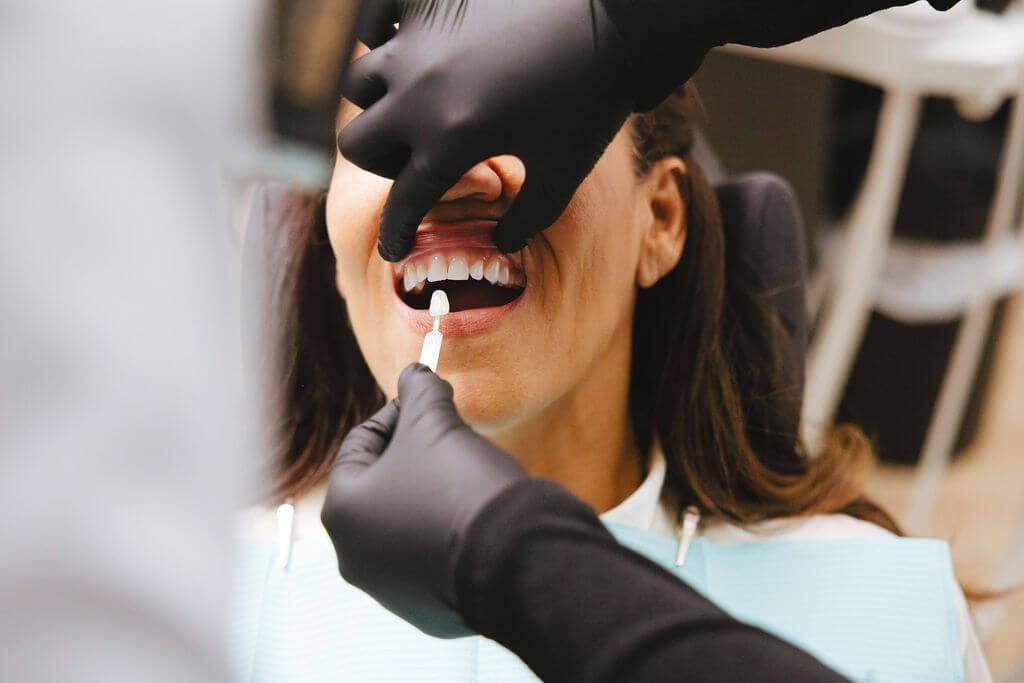
Digital photography is vital in modern dentistry, providing information for diagnosis, treatment planning, and patient communication. Dental professionals can capture high-quality intraoral and extraoral images by selecting the right equipment, mastering various techniques, and overcoming common challenges. With the proper knowledge and tools, dental professionals can excel and achieve more in dental photography, impacting your experience and, thus, your practice.
If you have questions or are a dentist looking for more guidance on intraoral scanning and digital dentistry, contact Dandy.
Sources
Dental IQ. Digital photography in dentistry: Tools and techniques to help your patients and improve your practice.https://www.dentistryiq.com/dentistry/products/imaging-scanning-and-photography/article/16352333/digital-photography-in-dentistry-tools-and-techniques-to-help-your-patients-and-improve-your-practice
Dentistry Today. The vision of digital dental photography. https://pubmed.ncbi.nlm.nih.gov/17555193/
Dental Claim Support. 2 benefits to investing in an intraoral camera for your dental practice: claims and patient trust. https://www.dentalclaimsupport.com/blog/2-benefits-invest-intraoral-camera-dental-claim-insurance
The International journal of periodontics & restorative dentistry. Dynamic Documentation of the Smile and the 2D/3D Digital Smile Design Process https://pubmed.ncbi.nlm.nih.gov/28196157/
International Journal of Dentistry. Technique for Orthodontic Clinical Photographs Using a Smartphone. https://www.ncbi.nlm.nih.gov/pmc/articles/PMC8800594/#:~:text=Orthodontic%20clinical%20photographs%20consist%20of,equipment%20in%20our%20daily%20lives.
RDH. Mouth mirror magic. https://www.rdhmag.com/career-profession/personal-wellness/article/16407163/mouth-mirror-magic
